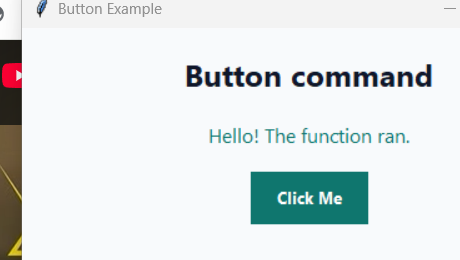
Example 1
Your first Tkinter window
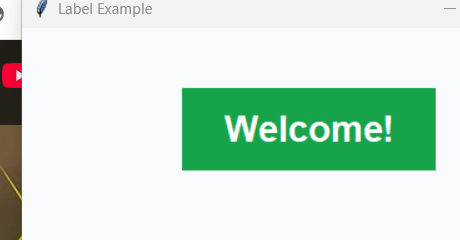
Create the main window and place a label inside it.
Every Tkinter application starts with a root window. Widgets such as labels, buttons, and inputs are added to that window.
Theory
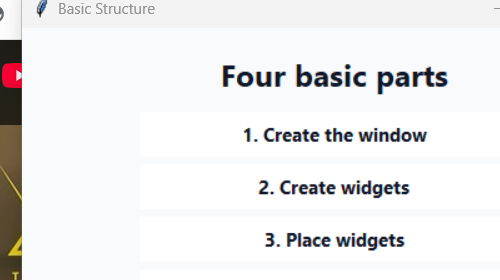
The first window teaches the minimum mental model: create a root window, add a widget, place it, and start the event loop. This is the desktop equivalent of creating a blank web page and placing one heading on it.
Key points
- Tk() creates the main window.
- Label creates visible text.
- pack() places the label.
- mainloop() keeps the app open.
Classroom note
Ask students to remove mainloop() once. They will see why the window cannot stay open without the event loop.
Python code
import tkinter as tk
window = tk.Tk()
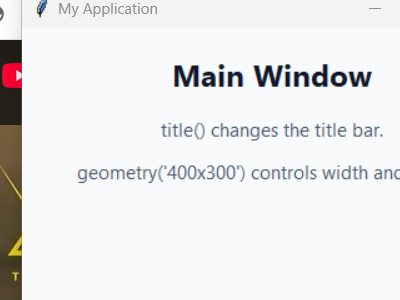
window.title("My First App")
window.geometry("420x220")
label = tk.Label(window, text="Hello from Tkinter!")
label.pack(pady=40)
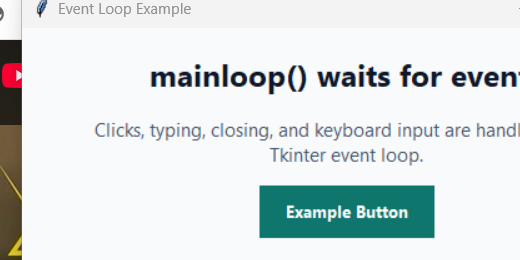
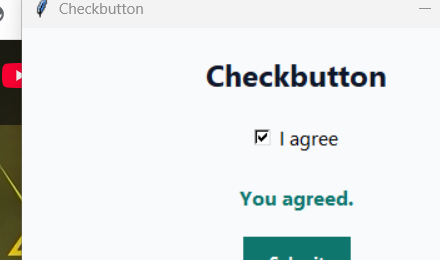
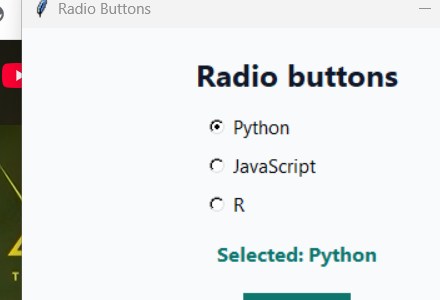
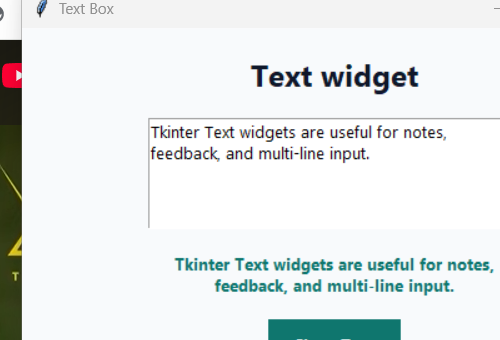
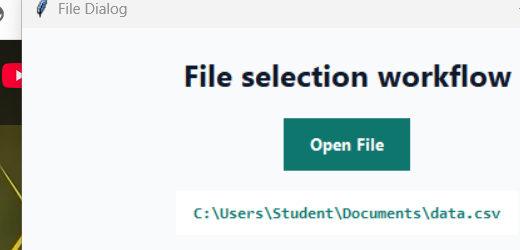
window.mainloop()Screenshot after execution
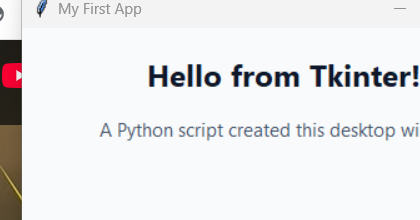
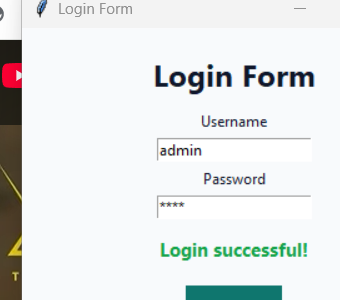
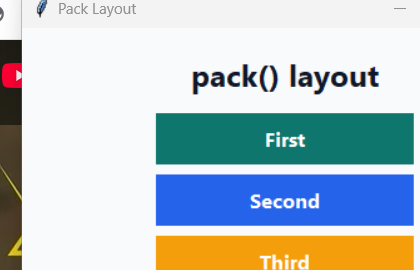
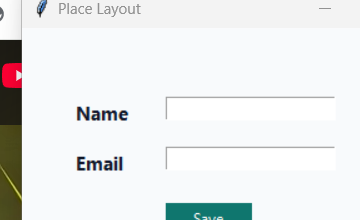
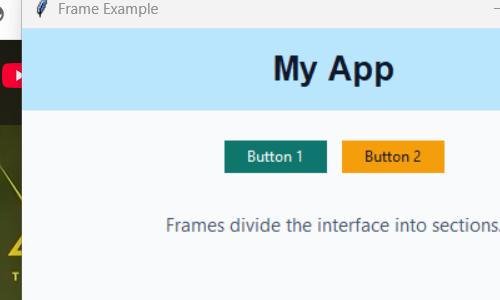
This image was generated by executing the Tkinter example and capturing the application window.